Wednesday, September 28, 2016

What What Wednesday - We R Memory Keepers Fuse Tool

     Good Morning to all my crafty friends. How are you on this fine day? I am having a pretty good morning. My oldest got up early this morning to head off to her first band practice. I got some good sleep so hopefully my day will move a long well. I am a bit behind in not only my house cleaning but in getting videos done so I am hoping to get caught up on these over the next few days and this weekend. Let us get to today's post. 

     I have had the fuse tool sitting here in my craft room for months still in the box and i thought it was time to use it. So I did a little review (or at least my thoughts on it) and share a small project along with it. I bought a pack of 100 Crayola Color Pencils to have with all my coloring books (I wanted some cheap color pencils for the coloring books easier to replace if lost or stolen by my kids lol) and wanted to have a color chart with them so I can see what the exact color will look like. But I knew that if I just left the paper in the pencil case then it would get all marked up so this is where the fuse tool comes in handy. 
     There are two zippers on this pencil case and each zipper opening holds 60 color pencil (30 per side) which means this case holds up to 120 colored pencils. I made these color charts using Cricut Design Space. Each side has 30 pencils and I have it set up so that this just flips over like a page in a book and all the colors line up to the places the pencils are.In the pack of color pencils I got there turned out to only really be 60 colors with 40 doubles (these are the colors they think get used the most) I keep the extras in the back zipper along with a few other colors that I picked up. I like having them sealed like this, it makes things easier to keep clean. I just wanted to show you these Now about the Fuse Tool.
     I was very impress with this tool. I not sure how long it took to heat up (I started it then went and got a few other things done while I waited) but once it was heated up it was not HOT. I could feel some heat if my hand was right over the tip but the handle was not hot and it did warm up the room (I was gone for about 15-30 minutes and sometimes having the heat gun on for 5 can warm up a room). I sealed things up nicely and the seal was cool to the touch with in seconds which is nice. I am so glad i finally got this and can see my self using it for all kinds of things. Thank you guys for joining me and I hope you have a great rest of your day and a wonderful week.

Happy Crafting


Friday, September 23, 2016

To die for Friday - Graduation Inspired Card

Welcome to another To die for Friday post. 
     I hope you have a good week or at least better then mine. I am so looking forward to this week being over its just has not been fun. I learned the hard way why you don't send clear stamp through your die cutting machine. Lesson learned and I will be keeping a better eye on my stamps that's for sure.

     Anyways lets get to today's card. I had planed to use the idea can to get the theme for this card since I had a stack of dies I want to use but could not decide which one or how. But once I had filmed me pulling the theme out I realized I for got to record so i put it back and turned on the camera and managed to pick the same theme. I then stopped the recording so I could get things ready to make the video and not sure what happened but the footage was not there when I went to check it. So I just filmed the card video and did not try to rerecord picking a theme since I liked the idea I had going through my mind. The theme was Graduation and that what I went with although you could use this for just about anything. 
     I used a lot of different dies for this card all Lawn Fawn. This is a kind of one layer card, everything was cut out of the gray background except for the star. I wanted that to look like it is shooting off the card. This is 110 lbs cardstock card base cut to 4.5x9 to make a top folding 4.5x4.5 square card and I went with a black white and gray color scheme with just a little pop of color. The dies I used was Lawn Fawn's Shooting Star, Simple Puffy Clouds, Stitched Square Frames and the stamps are from Lucky Stars. I stamped everything using my mini misty tool and Versafine Onyx Black ink. I used copic C5 (I think) to color the tail of the shooting star so it would stand out from the gray background. 
     I left the inside mostly empty so there is plenty of room to write a message but I did add and extra gold star that I had just to give the inside a little something. I am really happy with the way this card turned out (even if i did ruin the stamp I was planning on use). I think this would also work as a birthday card or even a card to just cheer someone up.I hope you all have a wonderful weekend and I will see you back here for another post on Monday.

Happy Crafting


Wednesday, September 21, 2016

What What Wednesday - My Inspirational Idea Cans

     Guess what day it is? Its Hump day and you know what that means. Only two more days until the weekend and another What What Wednesday post. I am looking forward to this weekend our youngest daughter is going to be doing her first Jiu Jitsu Competition on Saturday. She is super excited to do this to and we are very proud of her. 

     But enough about me and what i have going on lets dive into today's project. one of the other lady's I follow on YouTube share her idea can and how she plan to use it and I though that this would be a great idea to use thinks in your craft room might might not use as much. I took that idea it went a step farther. I sometimes struggle with coming up with card ideas (unless there is a specific reason to make a card or project) so I thought I would make two cans on for themes and one for products/embellishments to use. This not only will have me using things I may not have used in a long while but also get out of the routine of making the same kids of cards/projects that I have been so comfortable with. I happen to have some old cans sitting in my back room (well I had them for this exact reason) that would be perfect for my inspirational cans. 
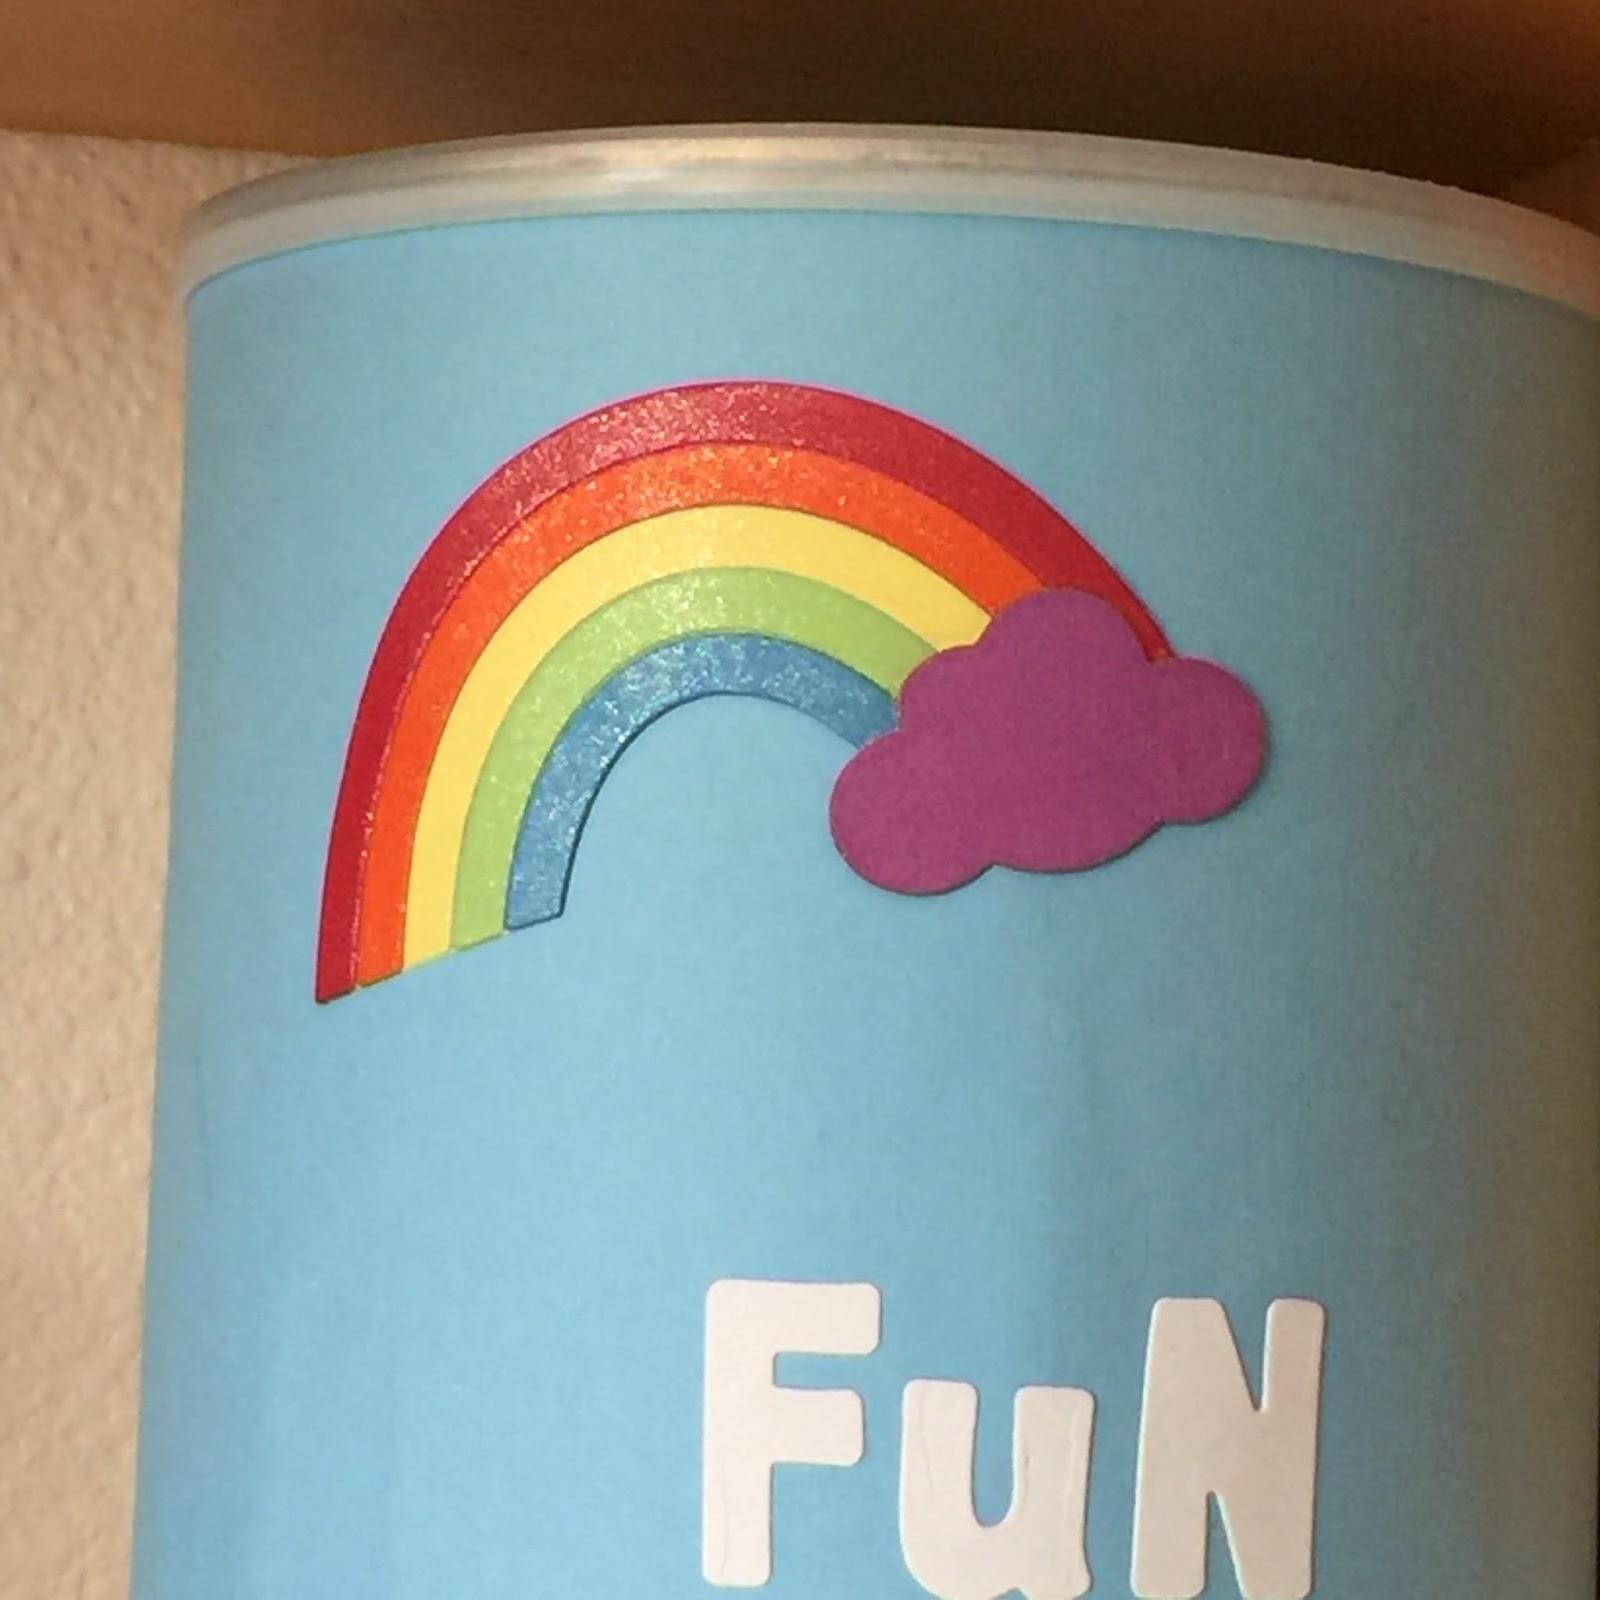
     The tall one was a baby formula can and the other was an Almond Rocha can. I covered then in some cardstock that was in my scraps bin. I used some letters that I already had cut out from Lawn Fawns Capital and Lower Case ABC's Die. I used some Scotch Quick-Dry Glue for everything.

     I named this can Fun Ideas since it has all the themes in it from Baby Showers to Anniversary to Sympathy as well as seasons and Holidays (I am hoping to also start my scrapbooking back up which is part of the reason to have those in there too). I made it the small can since I don't think I will be adding to many more themes to this can. I just added a heart to the top and the front for just a little something.
     The taller can having all my extra goodies in it seemed fitting to call it Fun Extras because after all that's what you add to the cards and projects right a little something extra. I image I will be adding more projects in to it as I get more goodies so it seemed fitting to use the taller can. There is all kinds of stuff in this can. I have pieces of paper that say stamps only (which just means I am not using any dies with them), I have stamp companies names in there so I would only being using that companies product. Then there's the many different coloring medias I have as well as all the embellishments that I own. I even add the punch I have as well as the Spellbinder dies. I may pick out anywhere from 1 - 3 maybe more depending on how much I want to challenge myself. 
 
     The rainbow was left over pieces from a birthday banner I did two years ago for a friend's daughters first birthday. It was either from the Lawn Fawn Rainbow die or something I cut out with my Cricut (not sure which really). I also covered the top (forgot to take a picture of that) with some of the same blue and then just add some clouds. This helps cover the words on the lid so you wont have to see any of that if I have this in a film.
     This here is just showing you where I keep the cans. This is on a shelf right about my desk, in fact you can see the mount for my camera right there. So its easy to get to without having to get out of my chair which is nice because then I am more likely to use it if they are close at hand.

     I am hoping this will be just another fun way to making more projects and videos with out feeling stressed or rushing at the last minute to get some things done. Thank you for joining me and enjoy the rest of your Wednesday and week. Here is the link to the video of the lady who gave me the idea for these.

Happy Crafting